MacBook Pro 2.9 GHz Review: 2018
Hey from beautiful Aspen, CO! I’m here working on a couple of different projects (adventure tourism and fine art) and have been primarily with Hasselblad X1D and field testing the brand new MacBook Pro along the way.
Candidly, I was a bit nervous about taking it on this job as my main machine because my digital workflow has been so embedded in the late 2013 MacBook Pro (w/ Thunderbolt 2 + USB 3 + SD card reader.) But it was getting a bit slow, especially when trying to process Hasselblad H6D-100C images in the field (you may have seen that in my post about iMac Pro).
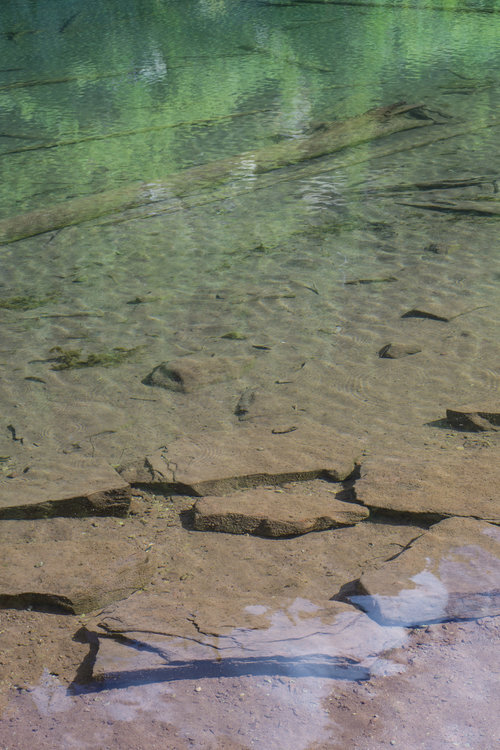
I've been shooting and editing on-the-fly from all kinds of spots, like this one
(turn sound on):
Shot on Mavic Pro. Sound recorded on iPhone X in Voice Memos. Edited in FCP X.
Not only has this Mac been blazingly fast, I’ve also adapted to most everything better than I expected. Whether flying through emails on its updated keyboard or processing Hassy files, this machine has been a joy to work with.
Feel free to post any questions or thoughts in the comments at the bottom of the page.
Double the RAM.
Double the storage.
Easily double the fun.
The new MacBook Pro is exactly what I’ve heard my creative community asking for. I remember my Twitter feed when the 2017 MBP was announced — “I want more RAM!” and “I want more storage!” Well today, we got it!
Previously, the MBP maxed out at 16 GB of RAM and a 2 TB internal SSD. Today, you can max out at 32 GB of DDR4 RAM and 4 TB of internal SSD storage.
I’ve found myself going to About This Mac in the Apple menu just for fun. Seeing 32GB and 4TB on a mobile machine hasn’t gotten old.
Gear & Tools
Shot on Hasselblad X1D w/ 45mm.
- MacBook Pro 2.9 GHz i9, 32 GB DDR4, 4 TB internal SSD
- 1TB Atom RAID SSD External Drive
- iPad Pro, 10.5"
- Hasselblad X1D w/ 30mm + 45mm lens (this is phenomenal camera and I used it to take this picture, also, stay tuned as I'll be posting thoughts and insights on Hasselblad's new 21MM + 120MM lenses soon.)
- iPhone X
- Sony A9 w/ Sony 16–35 f/2.8
- Sony RX10 MK III w/ built-in 24–600 lens
- Freefly Movi iPhone Stabilizer
- Moment Anamorphic Lens
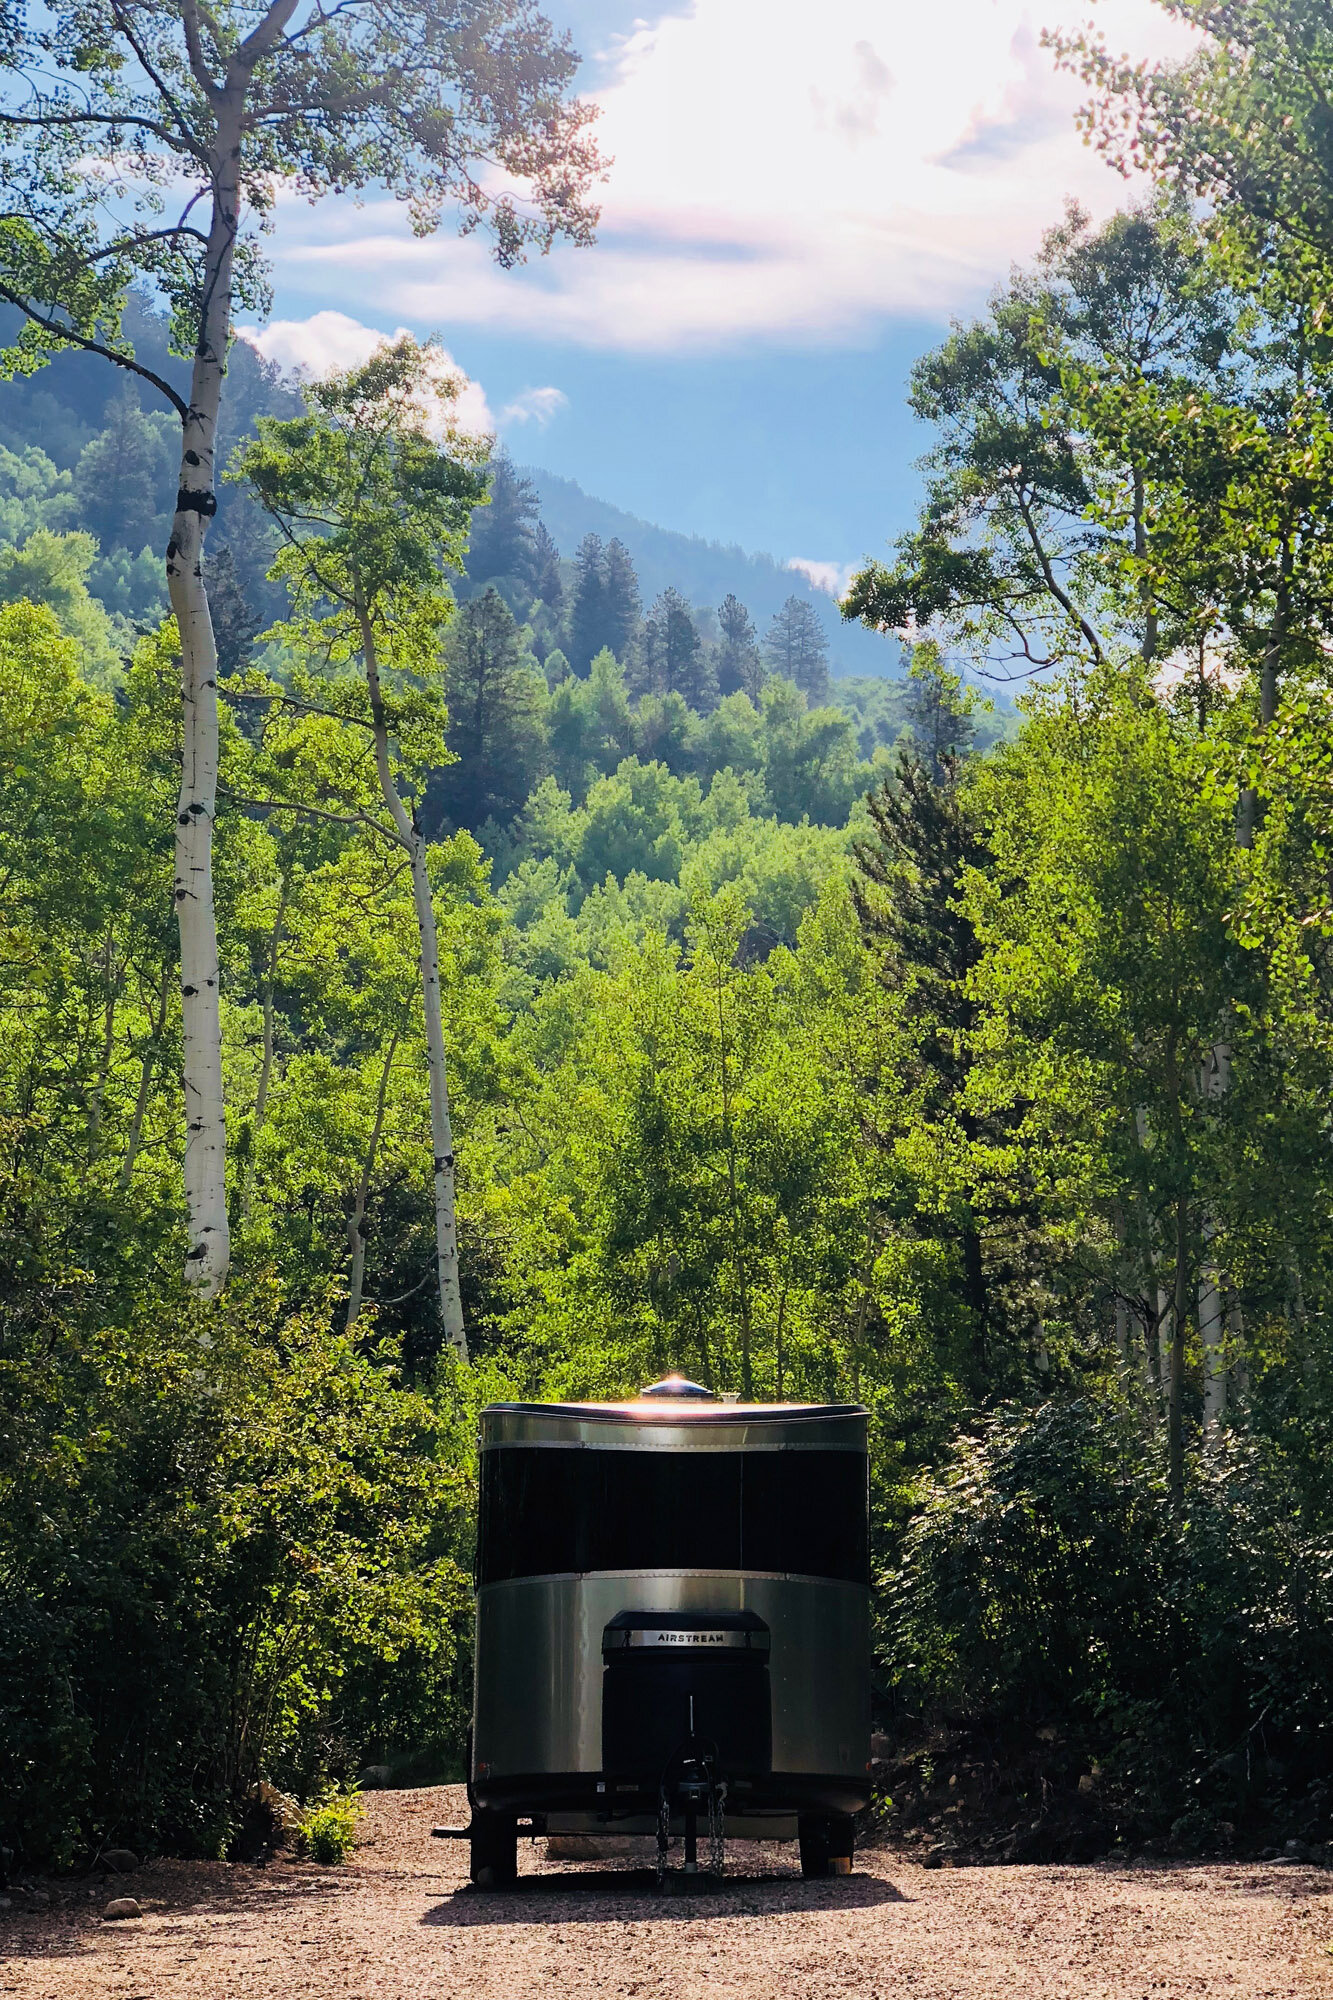
- Airstream Basecamp (for sleeping and charging)

Faster Than I Imagined
I’m deep in the mountains and wasn’t able to run many side-by-side speed tests, but I did manage to set up one test and the results were surprising.
The test was simple: convert a 4K Mavic Pro video file to 1080p H.265 (HEVC) using QuickTime Player (File > Export As > 1080p > Check “Use HEVC”).
I have three different MacBook Pros, all on macOS 10.13.6, all running QuickTime 10.4, all with the original file on the internal drive and exporting to the internal drive. Here are the results:
> My daily MBP until I discovered these results: 2.3 GHz i7 MacBook Pro (15", Late 2013, 16 GB RAM, 1 TB SSD) = 1980 seconds (33 minutes)
> Top-of-line 2016 MBP: 2.9 GHz i7 MacBook Pro (15", 16 GB RAM, 1 TB SSD) = 99 seconds
> This top-of-line 2018 MBP: 2.9 GHz i9 MacBook Pro (15", 32 GB RAM, 4 TB SSD) = 24 seconds


Wait, what? The new MacBook Pro is outperforming its predecessor by over 4x and the fully-spec’d 2013 by 85x? I ran this test a bunch of times and got pretty much the exact same results. In fact, the 2013 model clocked 38 minutes on one test.
I’m told these kinds of results will vary based on the test and the process being performed and also that the T2 chip has a huge impact on this specific conversion to H.265. I’m anxious to get back to the studio to try more side-by-side tests. (Thanks to Graham and Richard for the help with this one!)
Note: Initially when testing last year’s MacBook Pro, it was running on 10.13.4 and clocked 116 seconds. After updating to 10.13.6 the time for the same process dropped to 99 seconds.
Why convert to H.265 (HEVC)?
Converting motion content to H.265 (HEVC) can be helpful for a few scenarios. For me, I’m often in areas where the internet connection isn’t great (remote in Africa, here in the mountains, etc.), and if I want to send a bunch of footage off to an editor, converting to H.265 can cut my file size (thus upload time) by 10x without noticeable quality degradation.
If the speeds of this test remain true over multiple files, I can convert 25 GB of 4K motion to 2.5 GB in 10 minutes… all on the Mac in my backpack!
This is great for quick social media posts and other online content, but if you’re creating serious content where top quality, color and dynamic range is key, I would not recommend converting to H.265.
My first test was 24 seconds and remained consistent throughout the testing. My first test with the 2016 MBP was 116 seconds, which means this new MacBook Pro outperformed the previous model by almost 5x. We realized he was on an older version of macOS (10.13.4), so we updated to 10.13.6 and his speeds improved significantly to 99 seconds. If you haven’t updated to the latest macOS, do so now.
Shot on Hasselblad X1D w/ 45mm -- edit in Photoshop on MacBook Pro.
Touch Bar & Keyboard
You know that feeling when you put your hands on a keyboard and you feel like you can just fly on it? This is one of those. It’s quiet, yet still maintains a solid tactile response and the size feels right.
As for Touch Bar, I’m just not into it yet. I see the potential in it, but my habits are so deeply embedded that I’ve found it tough to get used to. I spent 45 hours working on this machine and I still haven’t been able to adapt. (I wish I could still feel my Escape and Function keys. I found myself accidentally pressing them multiple times a day.)
I downloaded BetterTouchTool, which grants all kinds of customization of the Touch Bar (and more), but I haven’t gotten anything dialed in that I love.
I use Keyboard Maestro hundreds of times a day and have used KM or QuicKeys for 20+ years. I’ve programmed my Function keys for complex tasks. (For instance, when I press F1, all applications are hidden and all Finder windows closed. I do this throughout the day to reset and switch to a different task.)
I messed with a few custom Touch Bar setups but landed on showing the F keys as default, and then when I press the “fn” button I see the brightness slider on the far left, volume slider on the right, and Do Not Disturb just to the right of that. In the middle, there is nothing. While I played with a few app-specific configurations, I didn’t find anything uniquely powerful and this setup represents what I most need.
If you’ve found a great way to leverage the Touch Bar, I’d really love to know. Leave a comment below.
Shot on iPhone X (Native Camera App Long Exposure)
More Storage = Streamlined Digital Workflow
If you’re a content creator, you know how quickly you can chew up internal hard drive space. There’s nothing like editing a job in Photoshop only to get that “Scratch Disk Full” error.
Previously, I’ve used a two-external-drive system (Drive A + Drive B). Each night, I offload all content from all devices to external Drive A (never touching the internal drive). I work and edit off of external Drive A throughout the project and then mirror Drive A to Drive B daily using ChronoSync.
However, with this new MacBook Pro I’ve treated my internal drive as “Drive A” and backed up to a single external drive (Drive B). I’m immediately sold on this workflow. It means having immediate access to all of my working files at any given moment, increased speeds, and it just feels more integrated overall. For the future, I’m even considering partitioning the 4 TB drive as 1 TB for system and apps with 3 TB for content storage.
Shot on Hasselblad X1D w/ 45mm lens - edit in Photoshop on MacBook Pro.
Thunderbolt 3 + USB-C
The main reason I stuck with the previous model MacBook Pro for so long has been the port set. I used USB-A all the time, my external drives were Thunderbolt 2, and I liked the built-in SD card reader.
It felt odd to jump into a machine without any of those ports, but after upgrading to super fast USB-C Glyph drives and using the machine for awhile, I’m definitely appreciating the increased speed. I did pick up this awesome Hyper Drive Slim USB-C hub and have used it daily. I’ve used it the most as a card reader (SD from the Hasselblad and MicroSD from the Mavic Pro), but I’ve also used it for its standard USB-A port a few times. It’s slim and light enough to keep in your bag for unexpected scenarios in which you might need a broader port set.
Self-portrait over Independence Pass, CO. Shot w/ Sony A9 + 16–35 f/2.8 -edit in Photoshop on MacBook Pro.
As a traveling photographer, I have all kinds of accessories that need charging, and I’m always looking for ways to optimize the things I pack. I discovered I can charge the Hasselblad X1D via USB-C, and my Freefly Movi stabilizer too, so it’s nice to be able to use my MBP charger for something other than charging my MBP.
I love the MagSafe system and I miss the confidence it gave me that my laptop wouldn’t be jerked off the table as someone tripped over my charging cord in a coffee shop, but I also love that I can now charge from any USB-C port on either side, and I can even use a USB-C battery pack to charge.
Lastly, a small but real observation: I feel an elevated sense of design and balance with the two USB-C ports on either side (plus a headphone jack). Comparing this to the older MacBook Pro, which had a variety of ports on both sides, it just feels more simple and I like it.
Bright and Vivid Display
I really despise reflections and I’m that guy who used to custom order Macs with the matte screen option. When they stopped making those, I ordered my own third party film to make the screen matte myself.
I worked with this machine outside at my campsite and was pretty shocked at how bright / colorful it was, even in the brightest of conditions. I feel comfortable making quick edits outdoors (though when precision matters, go inside).
However, more than once, my display got super washed out over about 5 seconds. I figured out this was True Tone adapting as sunlight began to hit the screen. (It happened once outdoors and once indoors when I was near a window.) The fix was simple: Uncheck the True Tone feature in Systems Preferences > Displays.
This is probably a good habit for any creative pro serious about consistent color grading and image quality.
Another thing I noticed a few times, even with my display settings in full manual, was the screen dimming itself ever-so-slightly in different environments. I triple-checked my settings and even looked in energy and accessibility settings to see if there was something nested that could be adjusting this, but did not find anything.
I’ve actually noticed the same issue with my iPhone, especially when shooting in warm conditions. It’s not a huge deal as it’s slight, but I’m not sure what is going on here.
The Leadville 50 mountain bike race traverses to an elevation of 12,000 ft and through a bunch of old historic mines. Shot on Mavic Pro - edit in Photoshop on MacBook Pro.
T2: Better Security and a Bunch More
When I learned the new MacBook Pro has the T2 chip, I knew that meant improved security, but I wasn’t fully aware of the effects it would have on the machine overall.
I’m glad the T2 made it to the MacBook Pro. The increased security seems the most useful on mobile machines, which have a higher likelihood of theft and tampering.
T2 means Hey Siri support, which I played around with, but I’m not yet in the habit of using. It worked pretty well, even in noisy environments like Local Coffee House in Aspen.


But the T2 does a lot more than encrypt your data on the fly. It manages a bunch of key components behind-the-scenes like cooling fans, speakers, and mics, all with one central Apple-built chip. I’m not sure if the T2 is responsible or not, but I will say this machine has performed extremely smoothly. Fans aren’t ever blaring when I don’t think they are supposed to, and everything feels solid and well-integrated.
You can find out more about how the T2 improves the Mac experience by reading this in-depth article from Jason Snell.
Three Wishes
1) I wish the Mac was ready for Face ID. Touch ID is a nice upgrade, but I was hoping to see Face ID on this year’s Macs.
2) I wish I still had a physical Escape key. This is a hard one for me to get used to. Haptic feedback would be a huge upgrade to the Touch Bar.
3) I wish I could plug my iPhone X directly into the MacBook Pro out of the box. You can get the USB-C to Lightning cable, but it feels so odd to me that the flagship iPhone and flagship MacBook Pro don’t connect out of the box.
Buying Advice for Photographers
I’m an advocate for investing in your machine for the long term. I’d start your investment with internal storage: If you can afford it, get the 4 TB SSD. If you still have budget, max out your RAM next.
This machine is about power and possibility in the field, so I’d advise the 15" — the extra screen real estate will maximize its potential. If you’re less concerned with raw power and want something light, nimble, and powerful, get an iPad Pro 10.5". I would not get the 13" MBP as I think it’s a compromise between the two.
As I mentioned above, I’ve had a fully spec’d 2013 model for almost five years now. Maybe that was a bit too long, but by fully spec’ing the machine, it lasted longer. I would advise you to spec it to the max that your budget allows.


The Bottom Line
The new MacBook Pro is everything the mobile creative pro could ever hope for. It’s packing speeds that feel akin to the iMac Pro, and there's virtually nothing in a day-to-day creative workflow you can’t do with it. And it fits in your backpack.
My main qualm with this machine remains the Touch Bar. So far, it’s only caused me trouble, but I’m hopeful I’ll adjust to it in the near future.
At $6700, this machine really only makes sense for the serious creative professional (and it’s the most expensive laptop Apple’s ever made), but in my opinion it’s the best by a long shot.
I don’t regret holding onto my late 2013 MacBook Pro all these years, but after experiencing these insane speed boosts and with today’s maturing accessory line-up, it’s definitely time for an upgrade to the new MacBook Pro.
One More Thing
My wife and I are on a 6-week trip in our Airstream through Colorado, Wyoming, and Montana. I’ll be working more with the Hasselblad X1D, new lenses and a bunch of other tech and adventure gear. Follow along as I'll be posting more from Mannpod Instagram!